Any requests?
(note now lali is left-orientated, turns her head to the left, and smiles to the left too.)
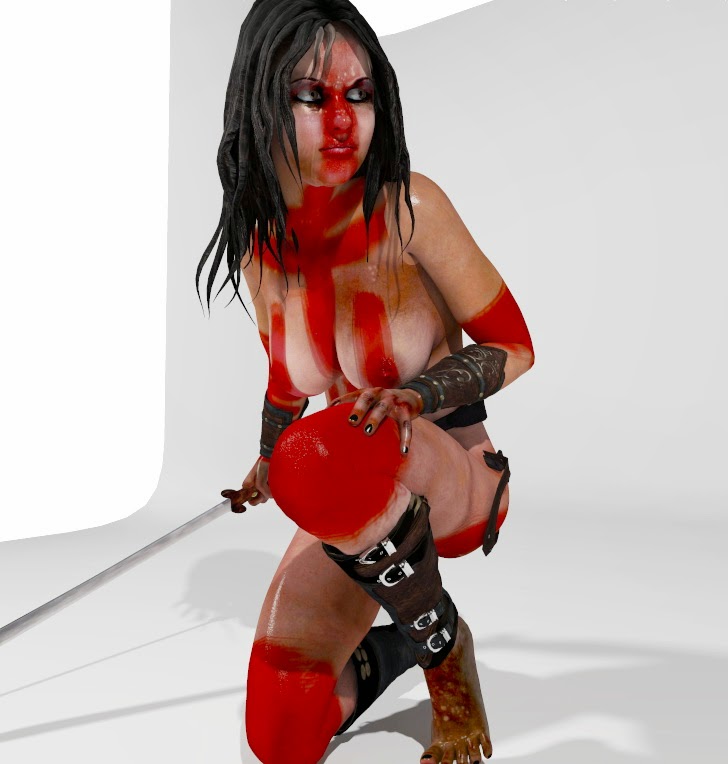
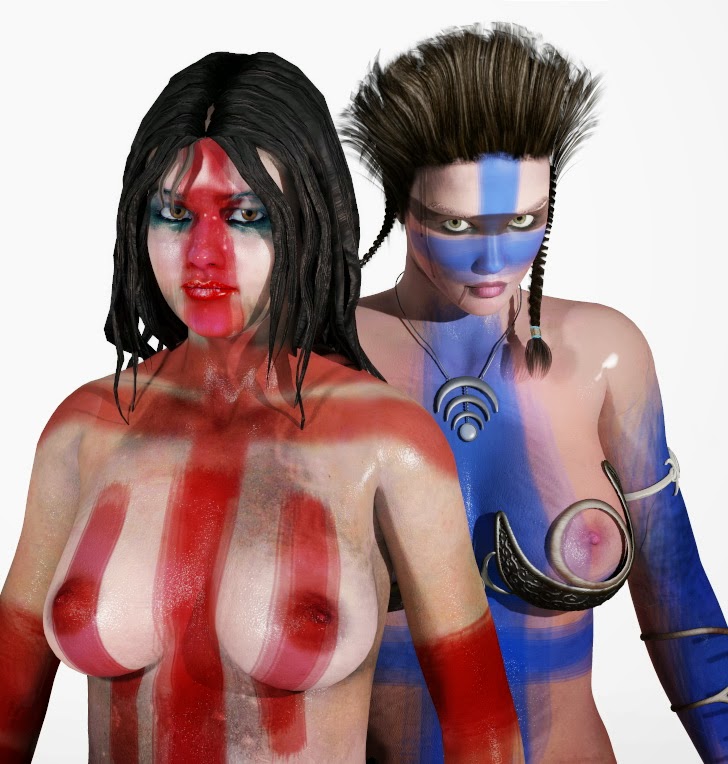
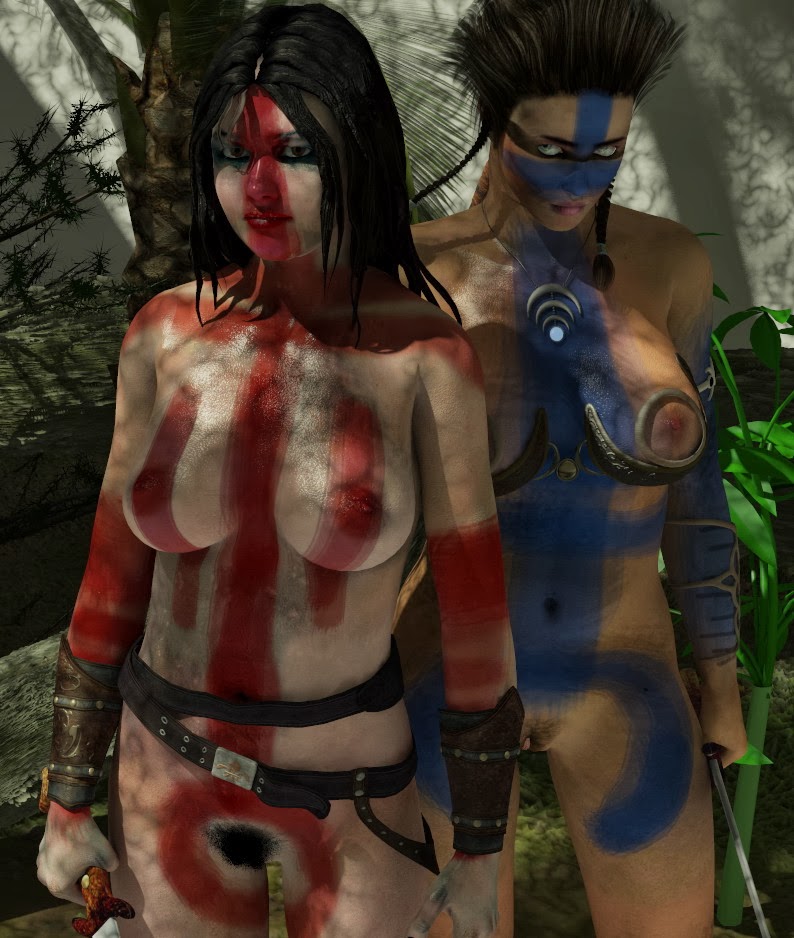
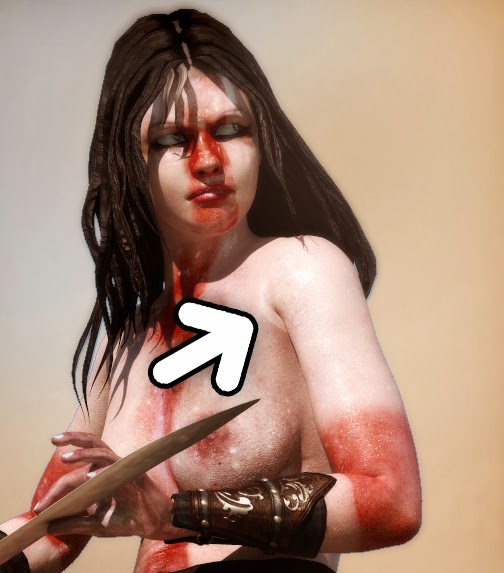 Ok so for this scene I wanted two Triplon warriors in some kind of pre-battle dance of intimidation across from each other. And these Trilpon guys are quite primal, with much theatre and intimidation going on in the way of bodypaint. They spend lots of time in the bush and because of the harsh and hostile conditions they rarely have time for a nice bath and so can get pretty grimy and dirty wondering around in a tropical environment. So the textures have to show this. This means shiny, bodypaint, random smears of grease and dirt of walking past vines and leaves that collect dust. Assuming that these guys don't have time to work with accurate paintbrushes the paint will also be smeared on by hand or with some simple animal hair brush. Any garments that they'd wear in this environment would probably be a rare item and therefore old and worn, and also dirty or rusted. So keywords are dirt, grime and grease.
 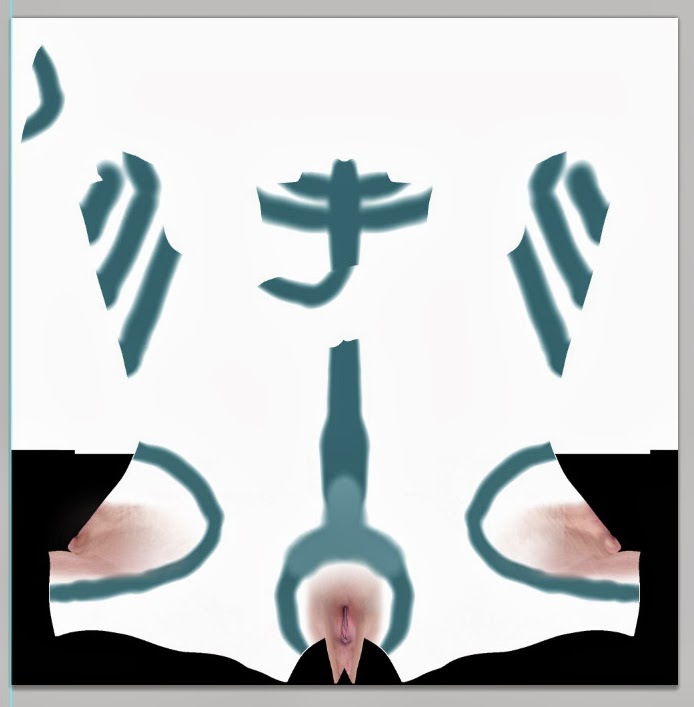 Sen, the figure you guys all already know was pretty much set up, but I was using an old texture I made back in 2010 and it had seam issues as you can see above. So I opened zBrush and painted on some new markings in my V4 mesh with PolyPaint. Exported it and here's the result. That you can use as a photoshop mask.
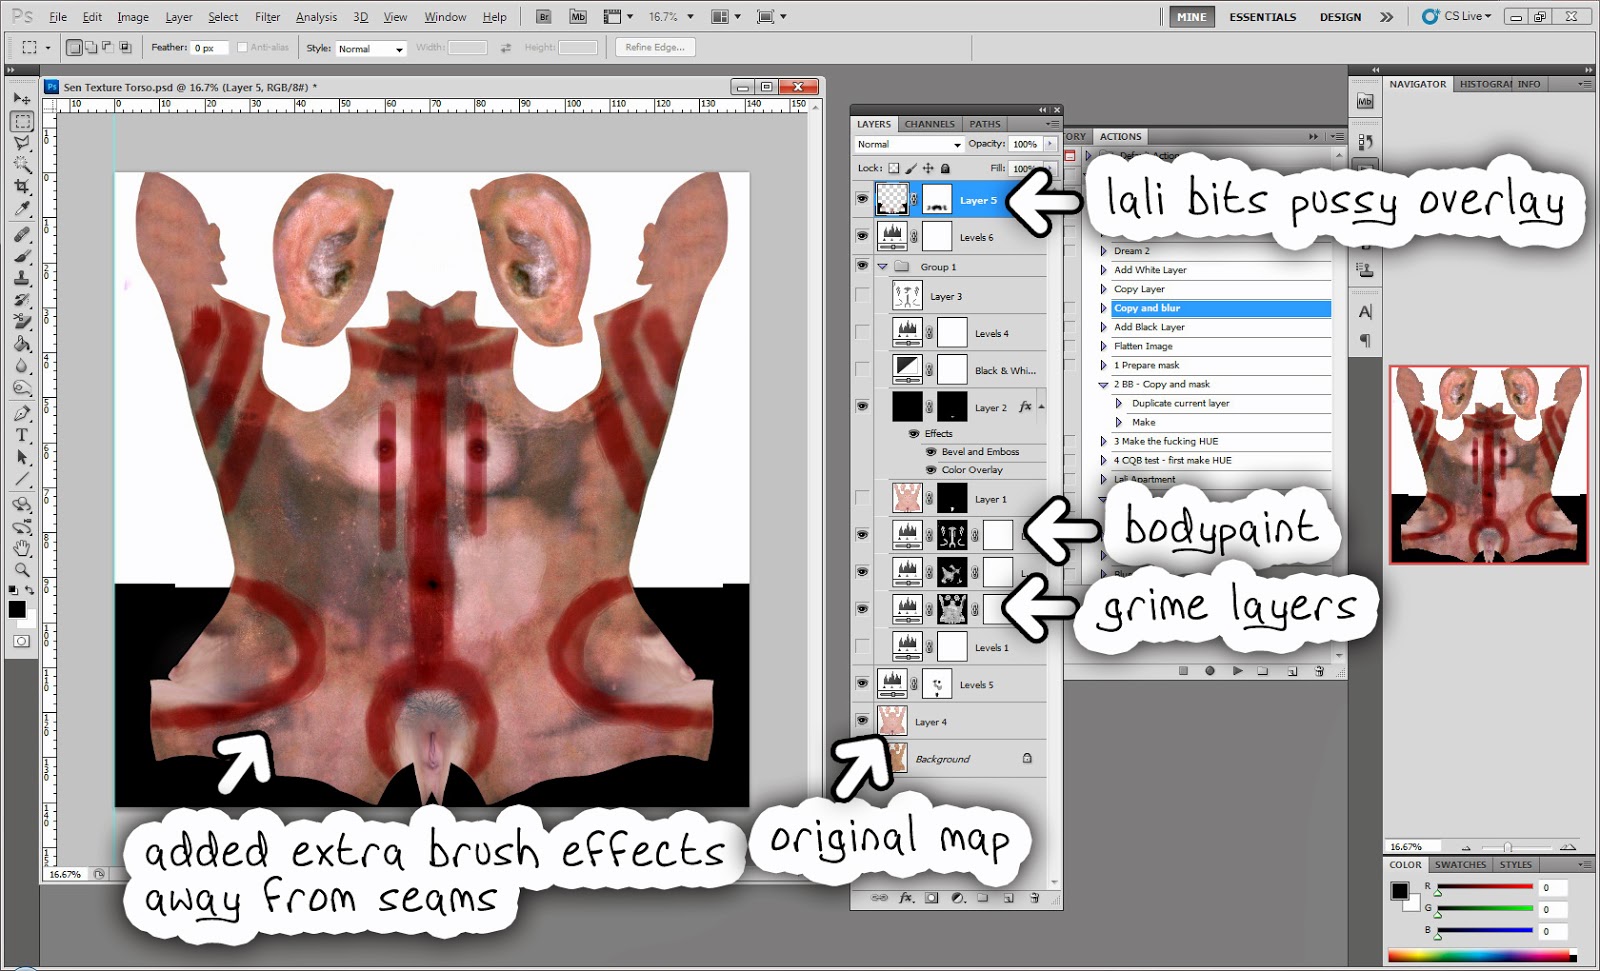 So using this technology, I can add dirt and grime with a darkening hue or deep contrast levels. One of the layers I did was a slightly higher contrast with a bump map acting as a mask. Go to the channels tab and select the 'mask'. There you can paste your black and white mask. With Sen's map I used the zBrush polypainting result ans added a bit of a paintbrush effect to the mask to give it that more scruffy look.
 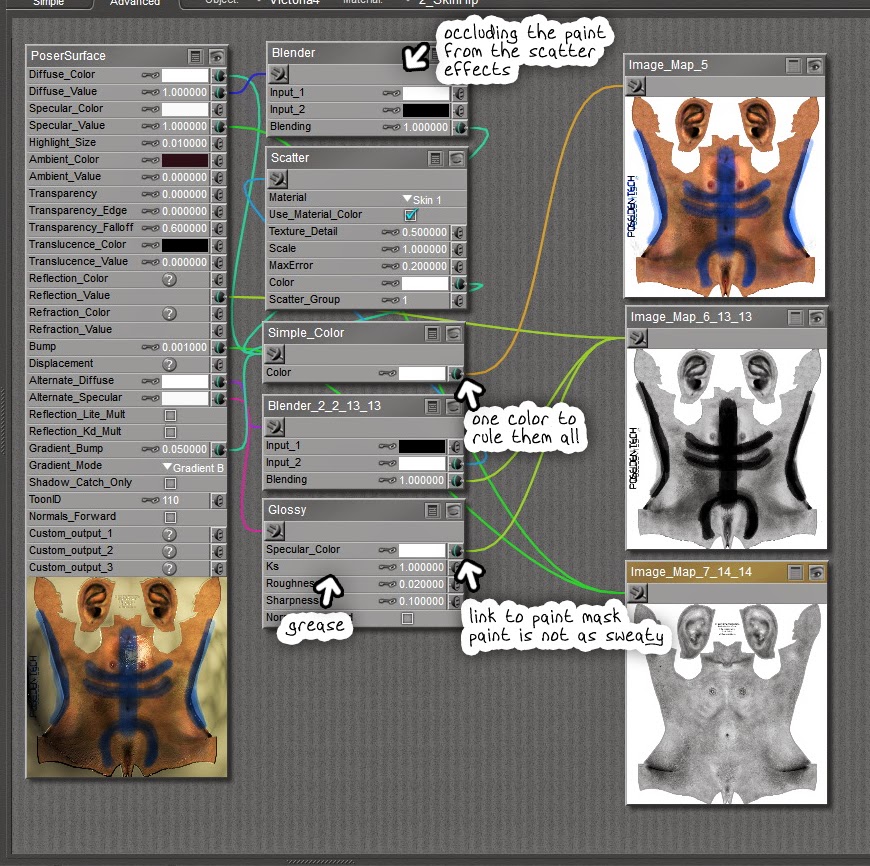 So now what to so in Poser? Well first of all it is skin, so set up some SSS skin node. Poser's skin nodes are becoming VERY easy and useful.
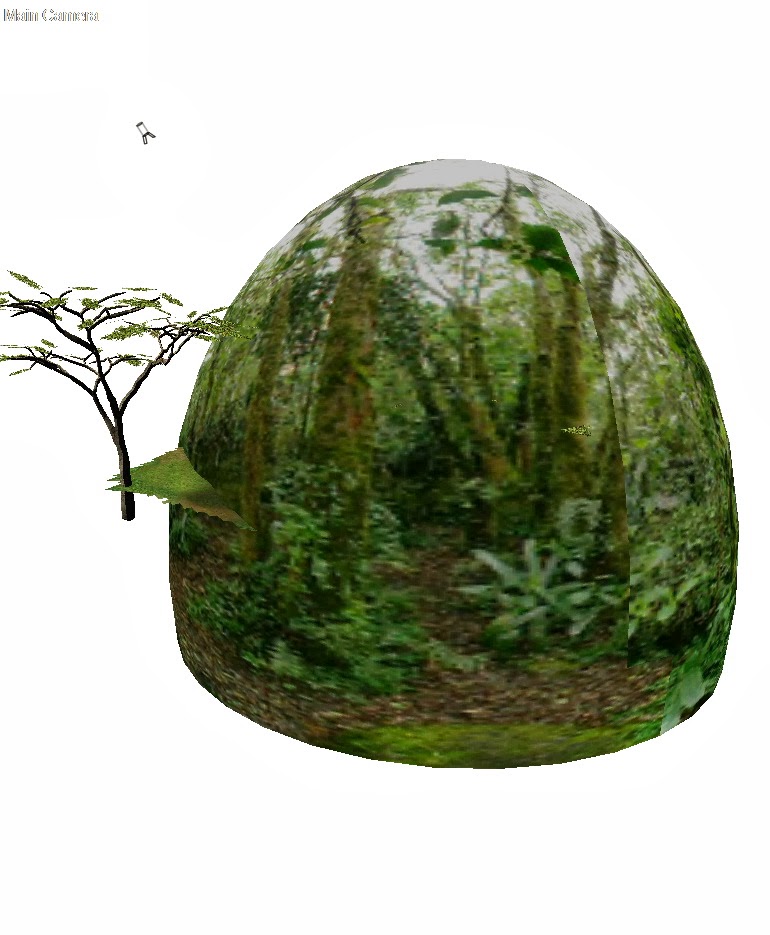 Ok so with the scene, I started with a sky dome I made in 3D Max which also has a floor to work with. In this case I didn't make use of the floor, just the 'sky'. I loaded up the same ground I used for the dream scene in 'The Route' (also self-made). Then I simply added lots of clutter, grass, dead tree stems. Never forget dead branches and that. For some reason we always forget them! In a proper forest its a fucking mess! We have some proper jungles a mere hour's drive from where I live and they are impenetrable. I've often had to hack my way to viewpoints.
 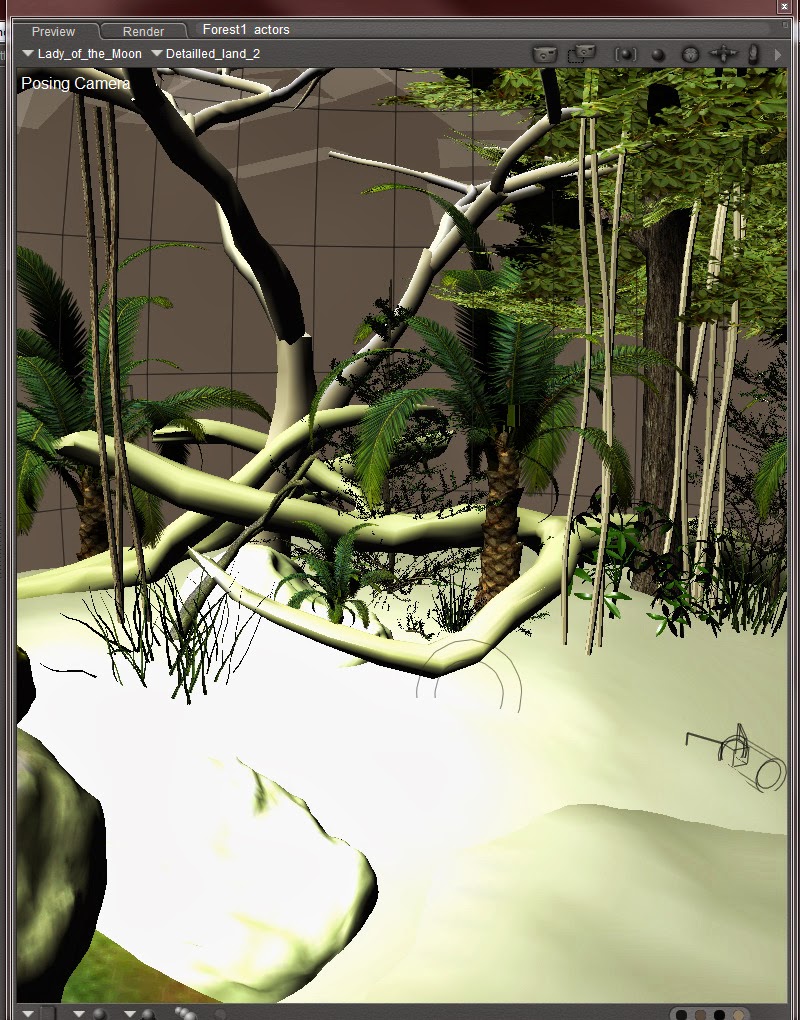 Some of the vegatation was made by me, in fact I made the vines especially for this scene. Its basically 5 cylinders in a row made in 3D Max and then in zBrush you just bend them a bit, move them around so it looks random. Export a version with only two or three vines, etc.
 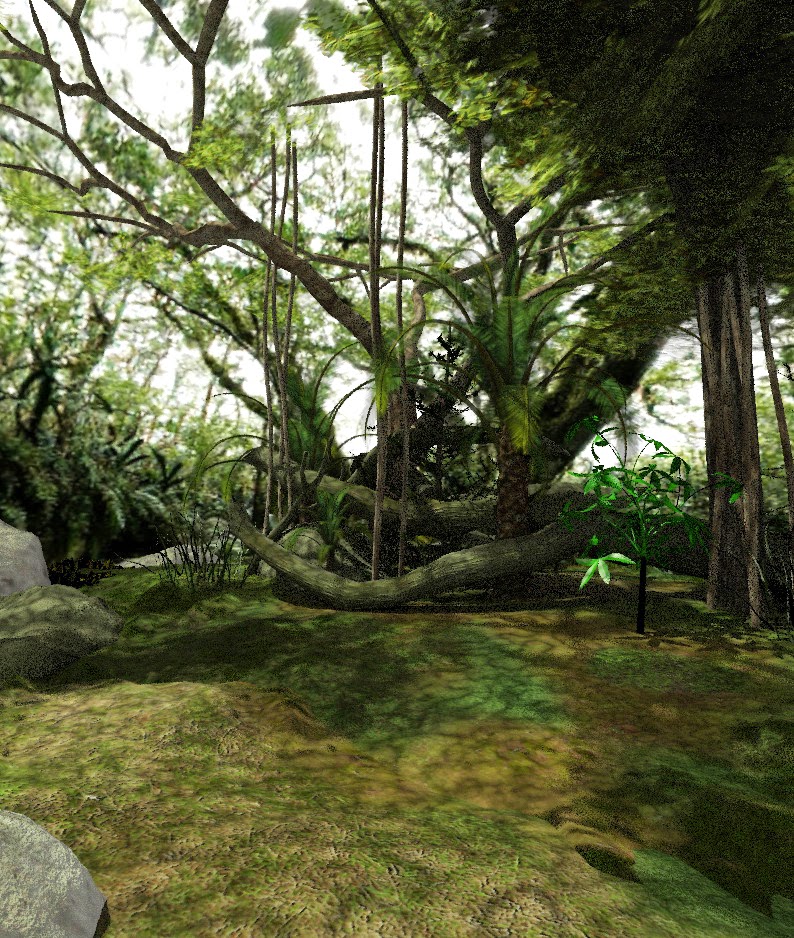 You can see the effect the 'spotted' sunlight has on the image. You mustn't zoom out too much or the effect will be too obvious. In these test scenes there's just one light, the sun. But further down the road I did add one more light, a spotlight in the same direction as the sunlight. I wanted to create the effect of a 'opening' in the forest canopy.
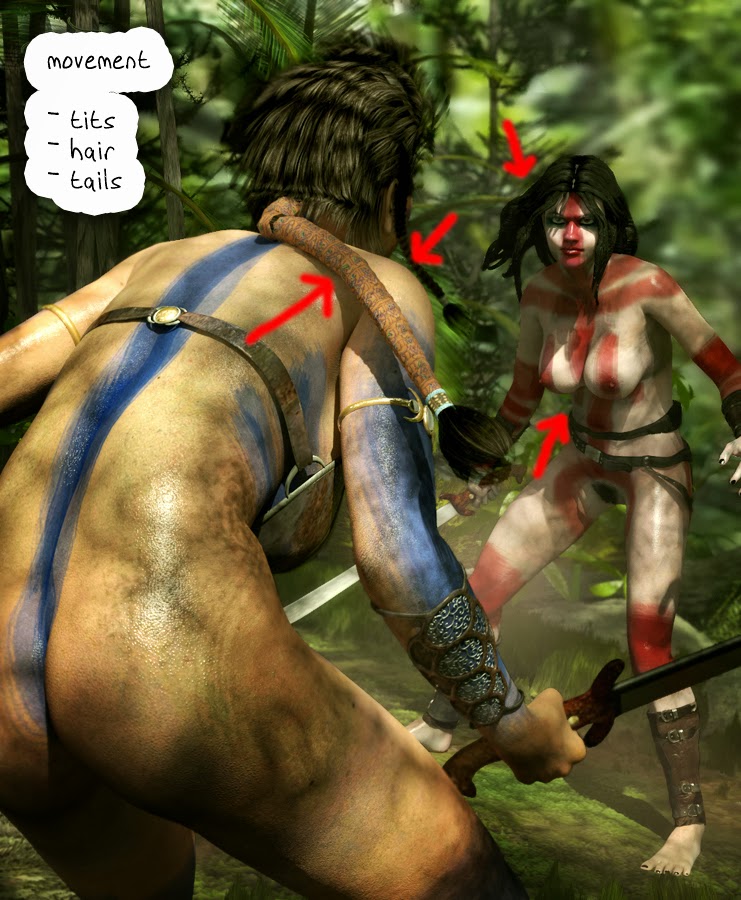 I believe posing and composition go hand in hand, if the poses are intense, then get in closer with the camera, for example. Get long shots going so that the depth makes the image more dramatic. And off course movement! Everything in your scene that can move, should be moving, especially if its an action scene.
 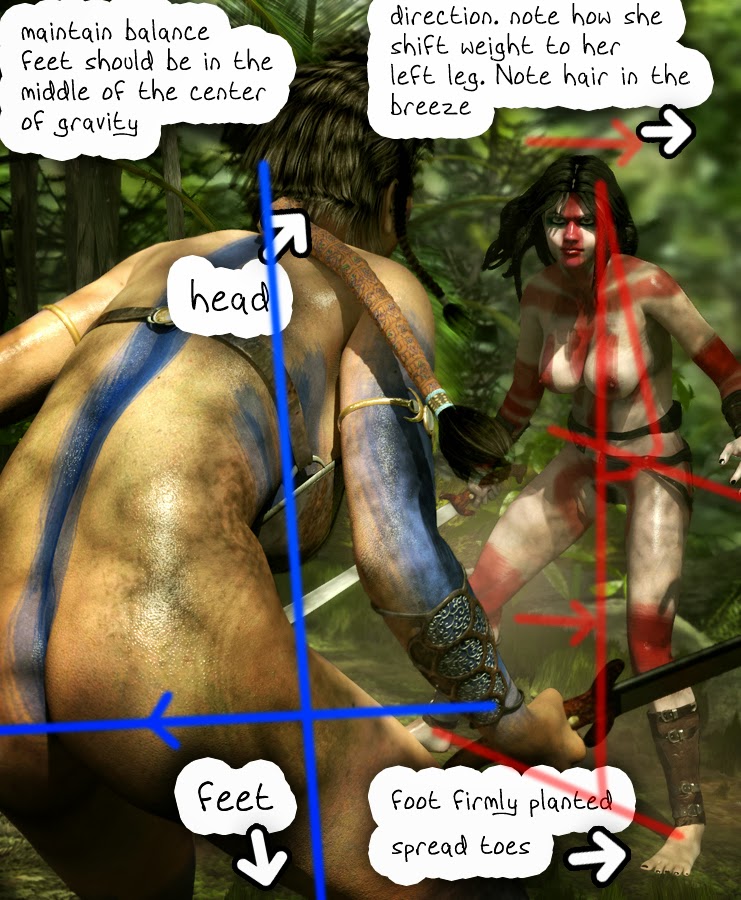 In this case its tits and hair, but also Sen's body as she steps to the side. Which brings me to the next important thing that 3D artists sometimes don't pay attention too: BALANCE!!! and putting the foot on the ground!!! In the scen you can see Sen planting her foot firmly on the ground, with her toes spread, dug into the grass. That conveys just as much movement as anything. Her center of gravity is leaning towards her left foot and her hair blows out to the right. Her tits dangle slightly to the right. The Madal warrior's mid torso is positioned over her feet.
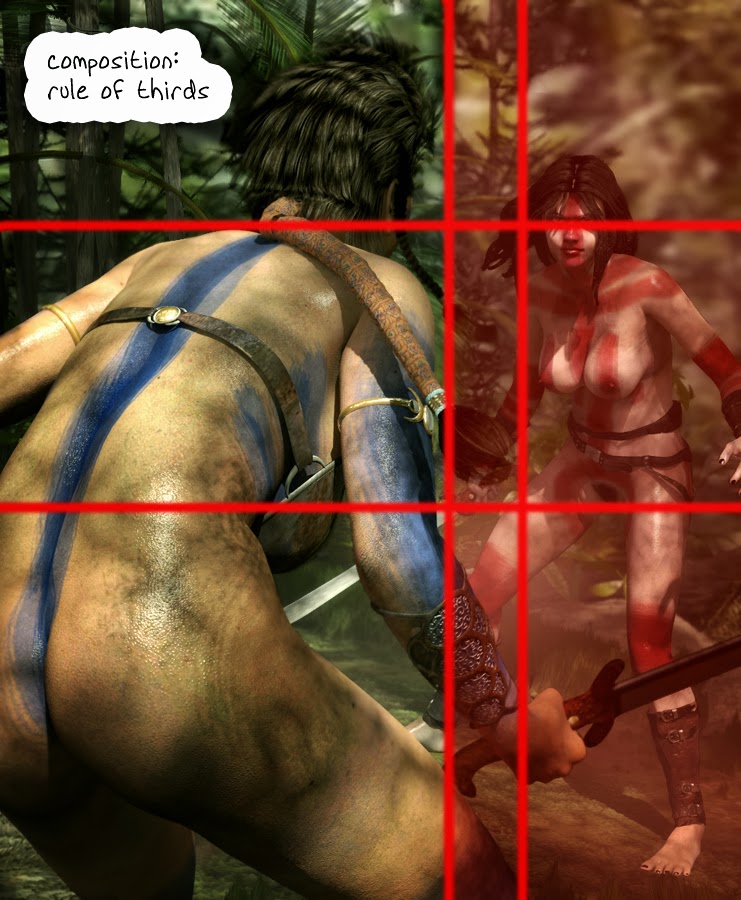 Then there's the artistic composition. Never put your subject dead centre of your art, unless it is a show piece. In such a dynamic / organic picture as this fight scene, you need to maintain that rule of thirds that we observe in nature all the time. Its not a strict rule, but it enlivens most artworks so much! Plus it add to the depth as the Madal warrior takes up a third of the scene by area as compared to Sen. Making the Madal warrior more intimidating.
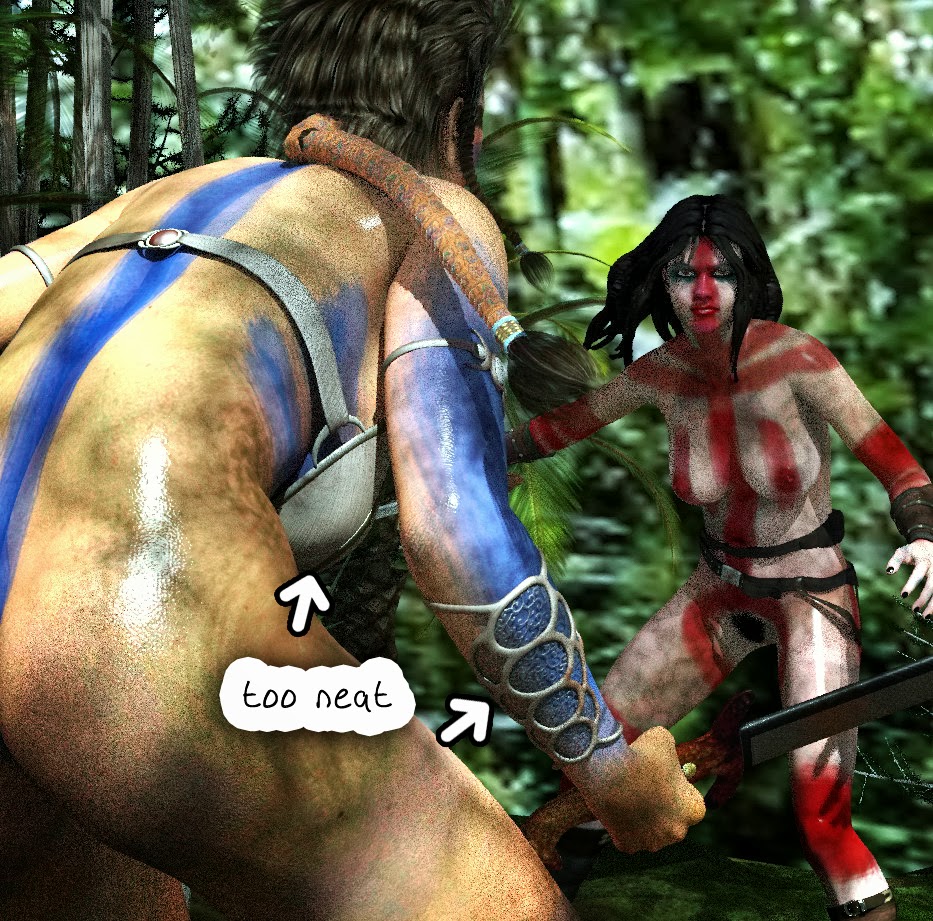 I usually use Progressive rendering for testing the scene, checking if the lights are in the right position. The test went well and I saw only one thing I wanted to change: her bracers, they looked too clean and neat, I needed to rust them up a little.
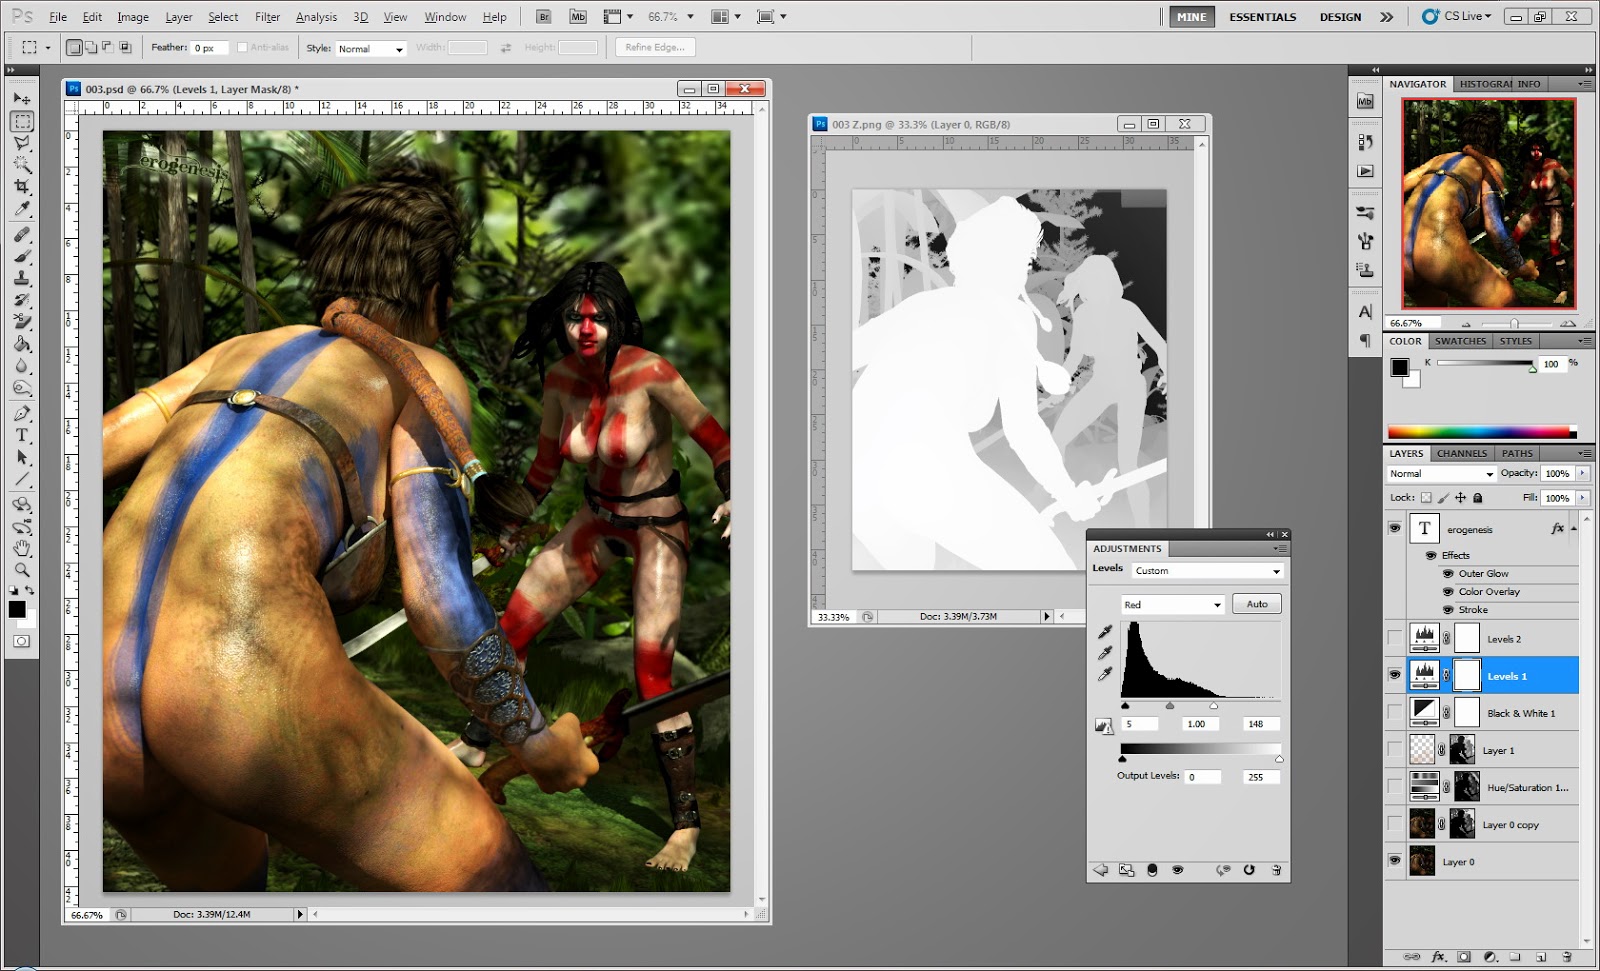
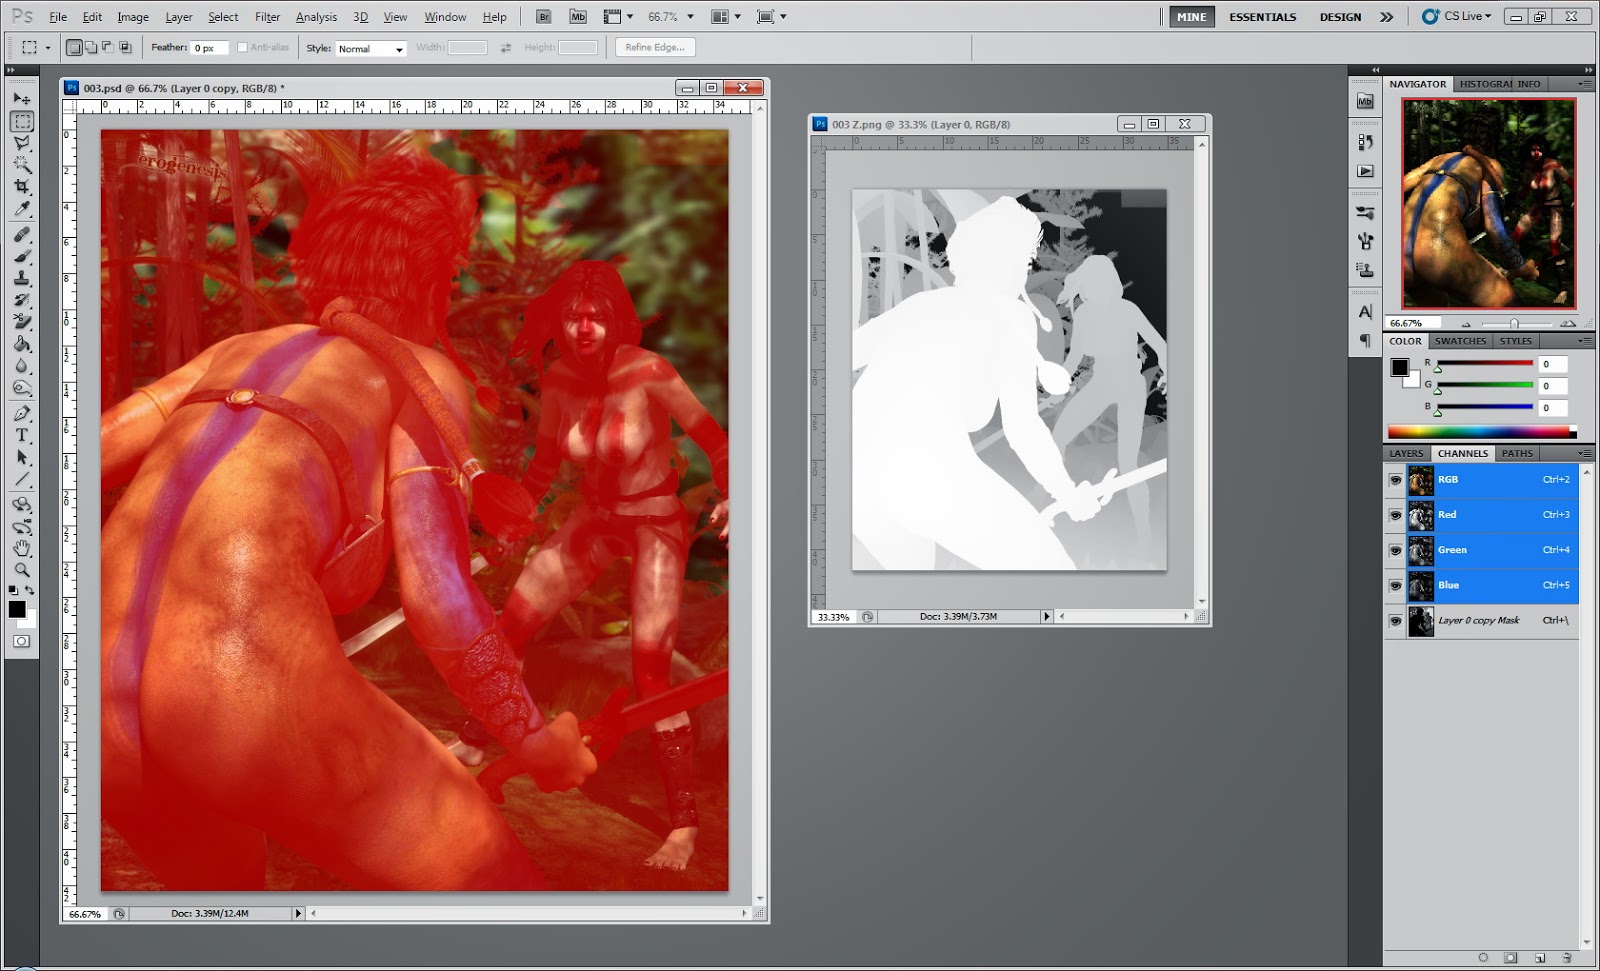 I start with getting some color going with the levels. I just let Photoshop do an automatic leveling. It usually does a decent job, at least to get started. Then I get the DOF in with the z-Depth mask that Poser exports if you set that up as auxiliary info. I use 'Lens Blur' for this, and all you do is direct the module to the z-depth image you pasted in the mask of the main image layer. Click on the part you want to be in focus. Then delete the mask. In this case the Madal warrior should've been blurred out, but her skin was so nice I didn't dare blur that out. So I airbrushed the madal warrior out with another mask to reveal the original below.
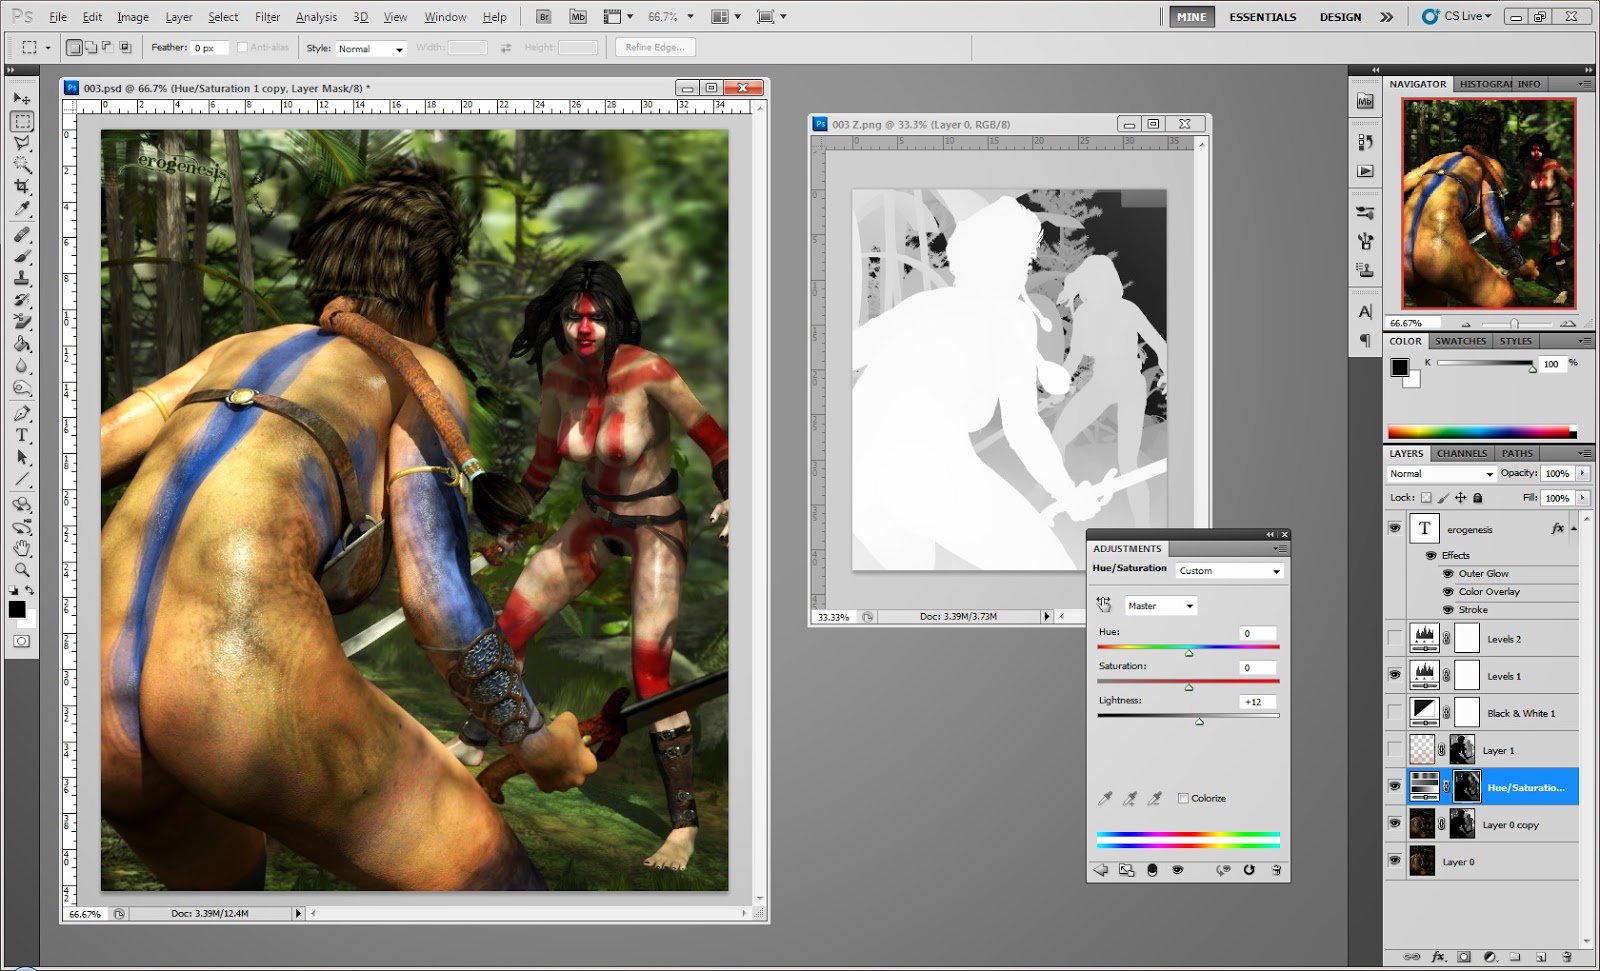 Then I add a hue/saturation layer and lighten is to give a hazy feel to the image. I select the channel tab and paste the z-Depth image, invert it, and viola, you've got 3D haze floating between the two characters.
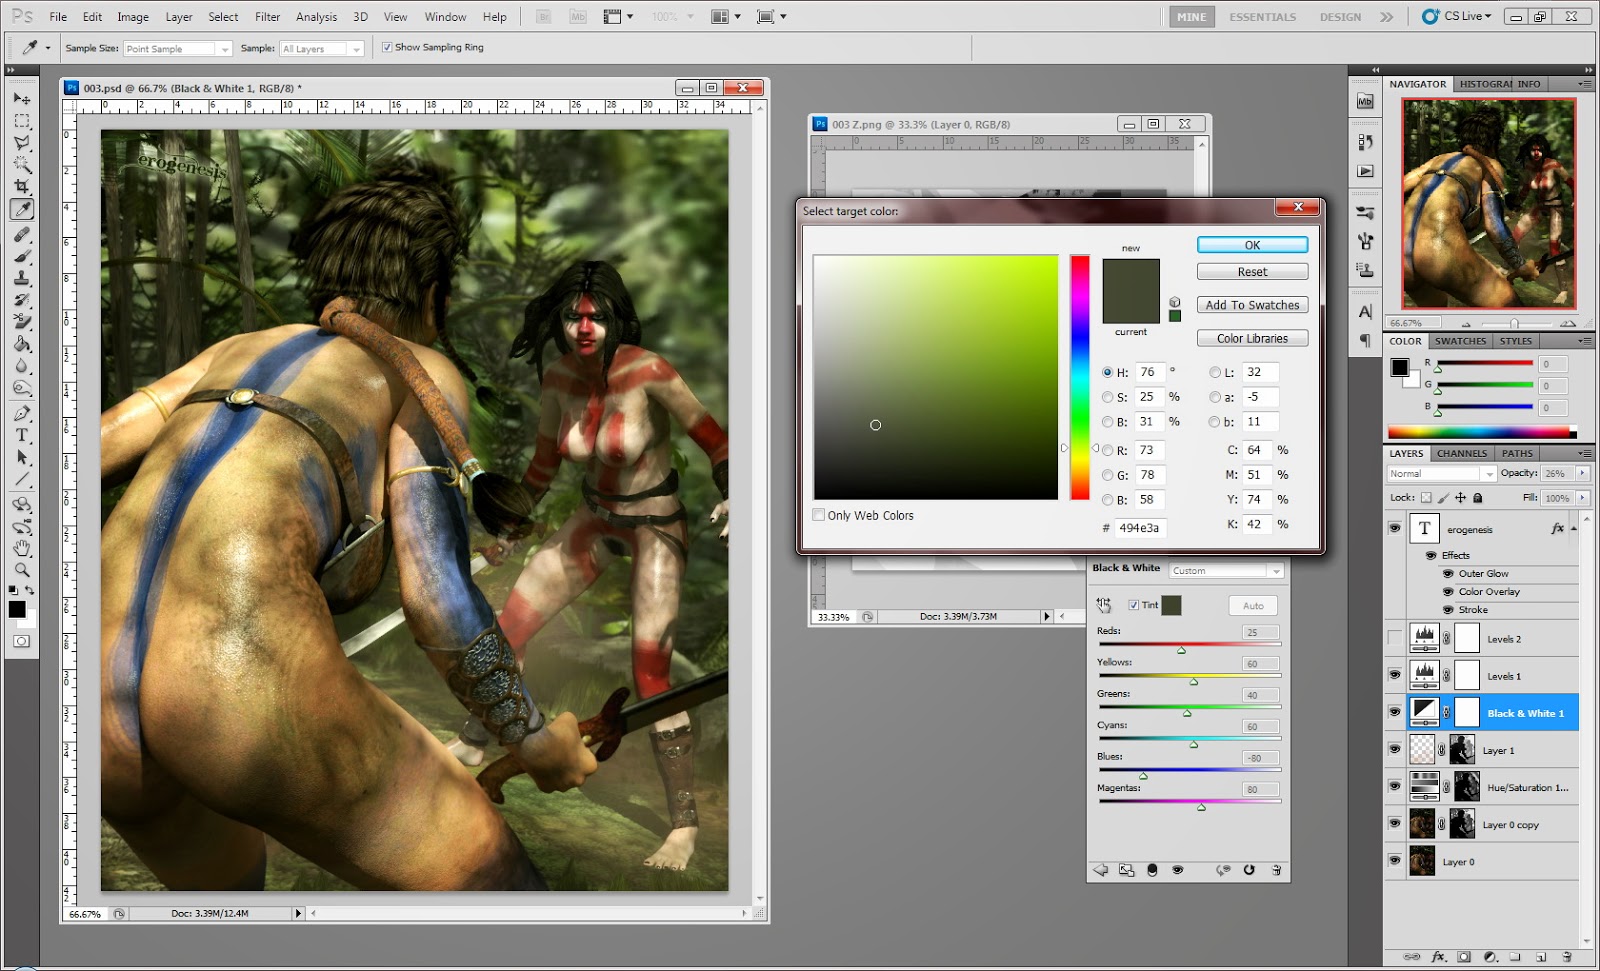 Finally I add a Black and White filter and give it a green tint. I then lower the opacity to something like 26% to give the scene a little bit of a green forest ambience.
 Because of the fantasy challenge over at Art of Darkness, I've awoken an old fantasy world of mine. Back in the day when I got interested in girls, the good old female warrior fantasy didn't escape me either and I managed to get hold of those Xena series, you know? And off course Vallero's stuff was perfect material to fuck up my innocent mind even more. But something didn't sit right with me. All those fantasy warrior seemed far to perfect and clean, too skinny and too frail for those big ass swords and spears. I like fantasies, but if it becomes too unrealistic, it stops making sense and becomes hard to relate to it.
  So then I created my own world, drawing pictures of them with pen and pencil, where women rule the day with swords, and obviously butt-nekkid! But sheesh, what kind of a woman do you have to be to do that?? In Africa many tribes still walk around stark naked, or at least half naked. But what about female warriors? Although its not common, females have been known to take up arms, and some quite effectively. You'd have to be a mentally strong person to detach yourself from the social norm. But what if the social norm expect you to fight. Matriarchal societies do exist, but how violent can they get? And what about the technical issues? A little brainstorming: for a world like this to exist, first of all it would have to be quite far from any modern technology, perhaps some decent metal work and leather crafting for arm bracers and belts. But the personalities of these ladies would have to be a very aggressive one, part intimidation and theatricals, and less emphasis on sexual appeal. Or maybe that is just it, the sexual appeal is their intimidation factor. I love intimidating women, not a dominatrix, but a woman that knows what she wants and will do anything to get it. They are downright sexy. If you manage to be a man around them, then you're in business!
 Site Admin
 Comic
Comic So now it is gradually back to comic-making for me. In the new comic we go back a few years and meet Lali in university with Julie and Laila. They get up to no good. Now, Laila has pubes so I wanted to make a nice conforming prop for that. With the new 'copy morphs from...' function it has become ridiculously easy to make it. This dude J.Clyde contacted me a while back about this project he wanted to set up, pubes for Lali, and I am using his prop now. I turned it into a conforming prop. Its pretty nifty how it morphs along with the pussy.
 You guys might have seen a bunch of other characters popping up here and there. Let me quickly explain. The redhead who's bum graced the front of Renderotica's new website is called Amanda. She is one of Lali's university friends and will be seen in a future Lali Lite. You've all met the girl that gave you Lali's Bits, the blonde. She's called, eh, Bitsy... hahahaha. She's actually made from Morph++ stuff. All my other girls are custom made in zBrush. Then you've got Sen, the Triplon Warrior. Ok this is way way way into the future, but eventually I'd like to start a comic series on this girl called Sen who is born into a matriarchal world called Triplon, with very barbaric and violent traditions. She doesn't fit in as well as the rest and she goes off to discover why.
 I never use DAZ FBMs
 3D figures, and coming to terms with Project E
 Enemies?